 How to resolve AdBlock issue?
 ADPRT Audio Utopia
Spectral reverb with tonal character
Author: Peter Kaminski
In the past, reverb was synonymous with the simulation of real rooms and their reverberation characteristics, sometimes combined with algorithms that implemented this in various ways, offering their own tonal colorations. In recent years, however, more and more reverb products have been introduced that focus not on the most accurate reproduction of reality, but rather on targeted spectral coloring. The Utopia plug-in from ADPTR Audio (pronounced Adapter Audio), developed in collaboration with Signalsmith Audio, is such a plug-in that influences the sound at the spectral level, generating synthetic-sounding reverb effects.
Requirements and installation
The plug-in can be installed on Windows 10/11 (64-bit) and macOS computers (10.11 or higher, native compatibility with M1/M2 chips) as a VST2, VST3, AAX (native and AudioSuite), and AudioUnit plug-in.
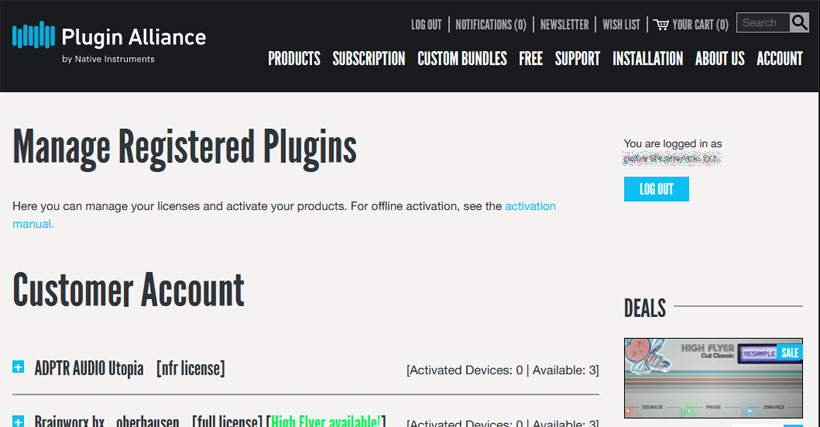
The license is activated through a Plugin Alliance user account.
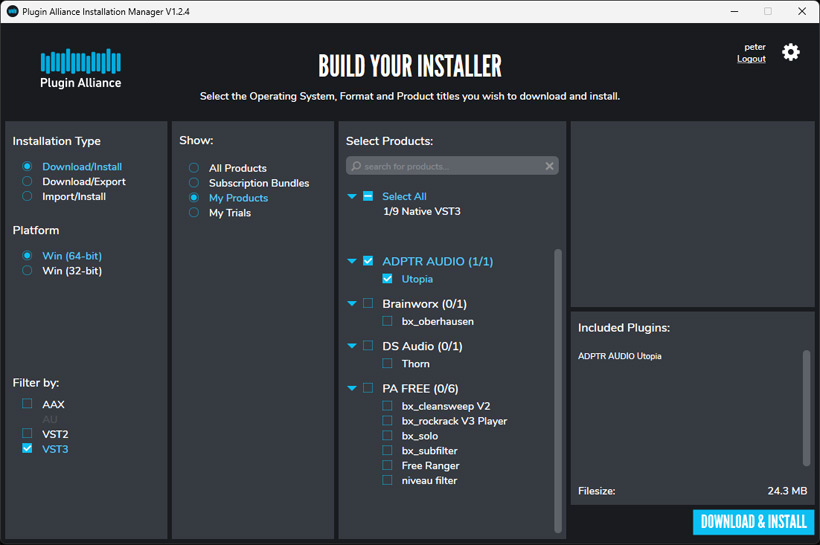
The Plugin Alliance Installation Manager can then be used to download the installation file for the desired plug-in formats.
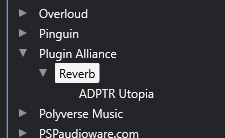
The plug-in will then appear under Plugin Alliance in the host software (Steinberg Nuendo is used as an example here).
After the first launch, the license must be activated.
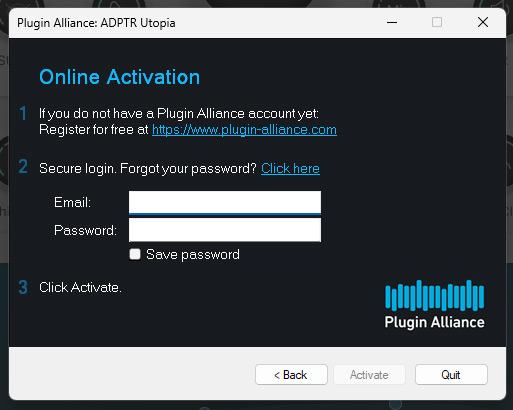
To do this, you must log in to your Plugin Alliance user account with your email address and password.
Operation
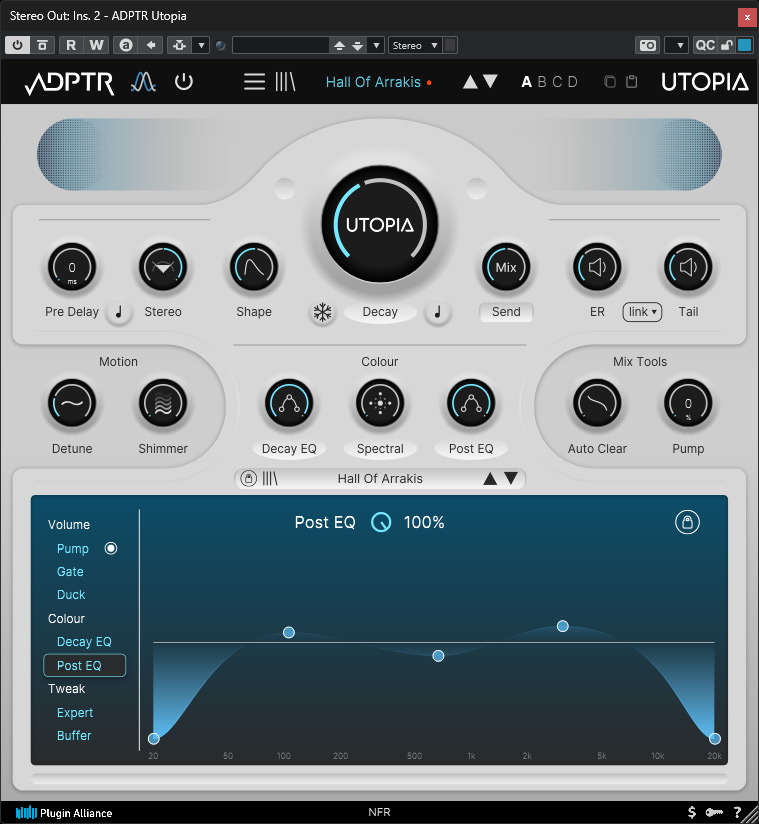
The GUI is divided into three areas: a header bar, a sector with the most important parameters that are directly accessible, and an area called “Panel Page,” where seven parameter pages can be accessed.
![]()
In the header bar, you can switch the plug-in to bypass, open the global menu, select a preset, activate the preset browser page, and select one of four banks for sound comparison.
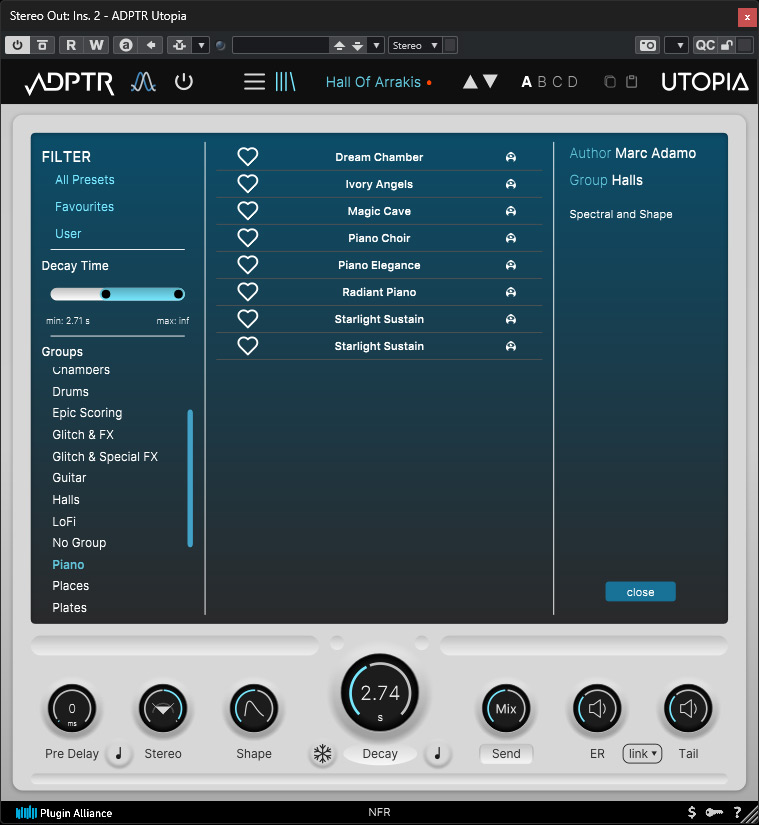
Utopia comes with over 250 presets. The preset browser allows you to search for and list presets according to various categories, such as author, groups, or even reverb time range (see figure above). Users can set favorites and access a favorites list. To find your own presets, there is also a user list with your own presets that you have created yourself.

Let's now take a look at the area where the most important parameters are directly accessible (see figure above). The current setting is highlighted in blue in a ring around the knobs. When the mouse pointer hovers over a parameter, the numerical value is also displayed. A large knob for setting the reverb time is located in the middle of the GUI. Below it is a switch for a freeze function. The reverb remains active until the function is deactivated. Only then is the incoming signal re-processed with reverb. BPM sync with the host software can also be activated. The Mix parameter to the right allows you to adjust the ratio between the original signal and the effect signal. Send can also be used to adjust the level in the virtual reverb engine. However, this is usually left at 100%.
Further parameters on the left side are the pre-delay time, along with a host tempo synchronization option. "Stereo" allows you to change the stereo image width, and the "Shape" parameter controls the behavior at the beginning of the reverb, i.e., how the envelope should be shaped in this time range. The “ER” and “Tail” parameters allow you to adjust the levels for the early reflections and the reverb tail separately. It is also possible to link the two parameters.
In the lower half, you can add tonal detuning and a shimmer effect continuously. In the “Colour” section, you can adjust the effects of the decay and post-EQ filters, as well as spectral coloring. The Mix Tools parameters are a little more specialized. With “Auto Clear,” The older input signal is suppressed with "Auto Clear" when frequencies that do not harmonize with each other are detected. The knob can be used to adjust how strongly this happens. The knob to the right of it adjusts the effect of one of the volume effects, which we will discuss next.
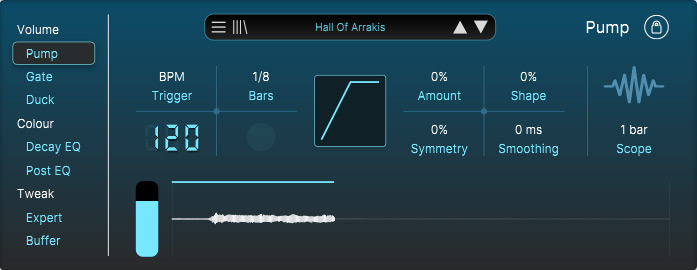
Now let's move on to the panel pages. There are three volume effects available: “Pump” (side chain effect), ‘Gate’ (noise gate), and “Duck” (ducking). These effects can also be synchronized to the host tempo. The lock icon allows you to disable the effect level settings on the upper interface for all three effects simultaneously.
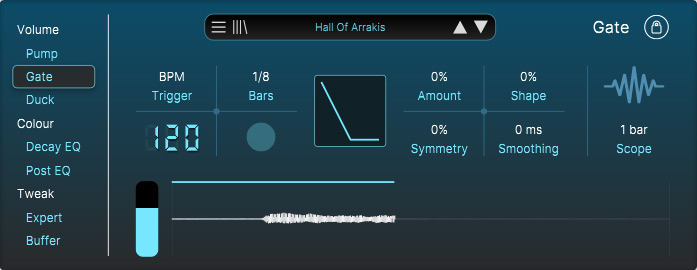
All parameters of these three effects can be set completely independently, including the tempo trigger, the parameters for the transfer function, and the level of each effect.
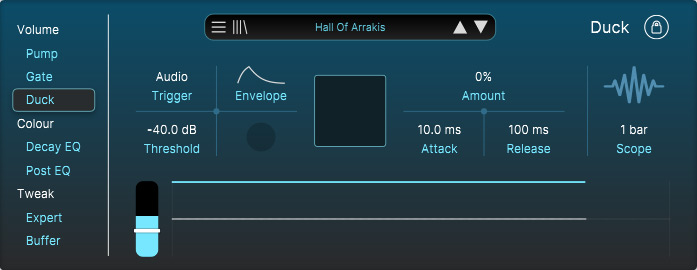
For ducking, the settings are logically a bit different from the other two parameters. Here, you can change the threshold, envelope, and attack and release times (see figure above).
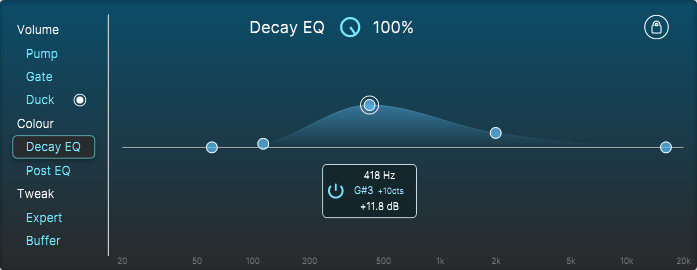
In the Color sections, you can set two equalizers for decay and post-processing.
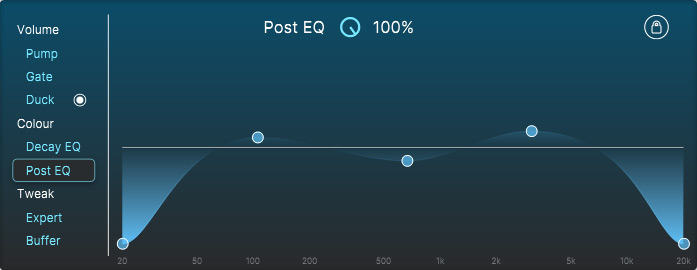
In addition to three band filters with a fixed Q, there is also an adjustable high-pass and low-pass filter. Frequency and gain are adjusted with the mouse. Each filter can be activated individually. The lock icon at the top right can be used in order to disable changes to the decay or post-EQ knobs on the upper side.
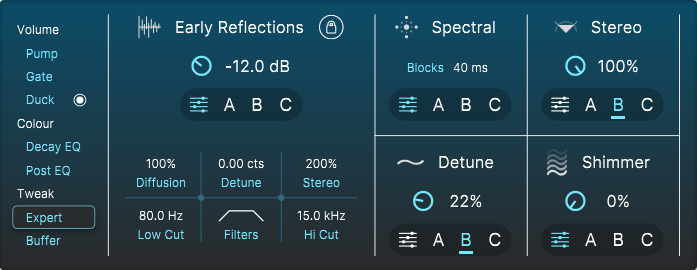
There are two additional pages for more advanced settings. The “Expert” page provides access to additional adjustments for early reflections, the spectrum, stereo base width, frequency shift, and the shimmer effect. The ‘Blocks’ parameter in the “Spectral” section is particularly interesting. It determines how many harmonics are taken into account at the same time. For percussive sounds, the block length should be kept short, and for sounds that decay more slowly, it should be set to a longer value. The effect of this parameter is very clearly audible and is therefore an important parameter.
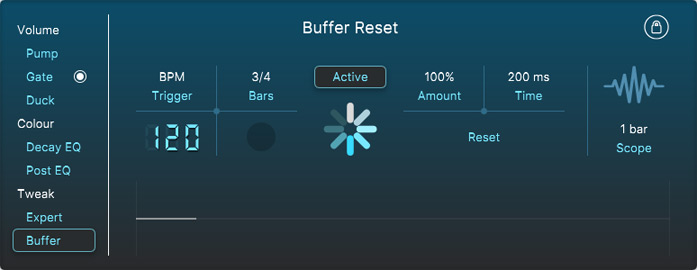
The "Buffer" section allows you to reset the internal buffer for special effects and can be synchronized with the host tempo (see figure above).
In practice
We tested the plug-in on an AudioKern B14 DAW from Digital Audio Service with Windows 11 and Nuendo 14 as host software. Installation and handling are problem-free. The plug-in requires very few processor resources for reverb. In the Nuendo Audio Performance Monitor, it was less than 10 percent at peak times.
The GUI is very well structured. The most important parameters are always visible on the interface. The parameters that can be accessed through the panel pages are a little more specialized if you are primarily working with presets. The presets are very easy to work with, as they sound very different and cover a wide range of sounds, including some extreme but no less interesting ones.
These presets offer many suitable sounds and may onl yneed to be adjusted slightly. The sound of the reverb engine differs significantly from classic reverb concepts and is more reminiscent of sound generation than processing with certain settings. The spectral aspect is very much in the foreground. That's why I used the internal reverb of the synthesizer for many of the instruments I processed with Utopia, or for guitars I pre-processed them with a little room reverb or spring reverb, because otherwise the original sound and the effect sometimes sound too separate. With a little classic reverb on the input signal, you can achieve more integrity in the resulting signal.
Conclusion
The regular price for ADPTR Audio's Utopia Reverb is US$150. Utopia Reverb is one of those plug-ins that leaves pure room simulation behind and is more in the realm of effects. With its changes in the spectral range, Utopia enriches the sound of many sounds, whether it is synthesizers, electric guitars, or even vocals. I wouldn't want to be without Utopia, especially for synthesizers. A really great plug-in - not only for sound designers and fans of electronic music. Utopia is also great for adding tonal accents to classic pop productions.